For this DIY project, I will be showing you how to make a simple mortised bookstand. This kind of simple book stand was common with military officers back in the days of camping in tents. It is highly portable and simple to break down. The construction will also teach you how to make a mortise and tenon joint, a very common woodworking joint.
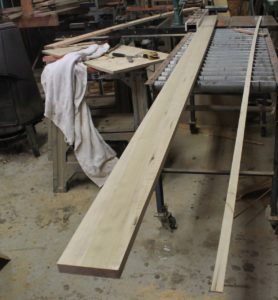
For this project, I will be using poplar wood because of its tight grain pattern and how smoothly it cuts with a chisel. This project can be done with any relatively soft hardwood.
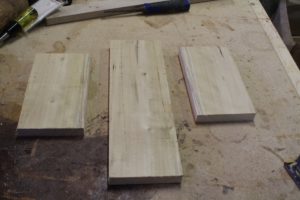
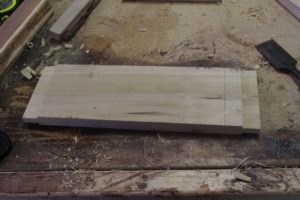
First, cut the board into three sections, one 14 inches long, and the other two at 8 inches. The board is 4 ½ inches wide.
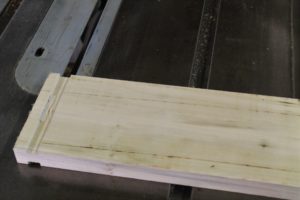
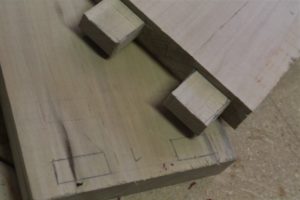
Using either a hand saw or a wider bladed table saw known as a dado table, like I am using, cut a ¼ inch deep cheek an inch into both sides of the board on both ends (see next picture)
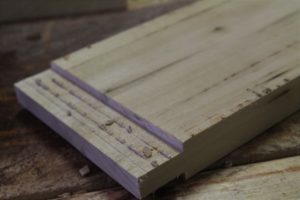
The dado blade has left a few hanging pieces which I am going to remove with a 1-inch chisel. This will not be a problem if you use a hand saw. I personally prefer the dado table because it is quicker it but not everyone has access to machinery like that.

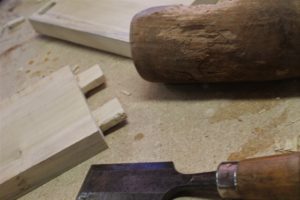
For cleaning up with the chisel, you just make sharp thrusts with the chisel parallel to the surface of the wood.
Here’s what It should look like all cleaned up.
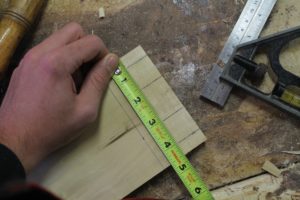
Now I used a straight edge and tape measure to mark each end at ½ inch, 1 ½ inch, 3 inches and 4 inches.
Next, you will cut out the spaces as marked. Again, this can be done with a hand saw but I used a type of fine motorized desk-mounted saw called a scroll saw.
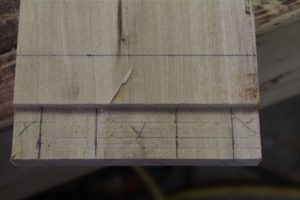
Both ends should look like this.
Next, use the outline of the ends to mark where you will cut on the two other boards. You will be fitting the two ends, which are called tenons, through the holes, or mortises. This is called a mortise and tenon joint, from which this project gets its name.
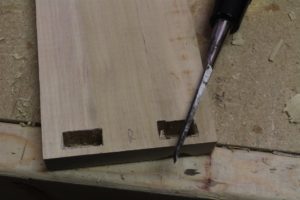
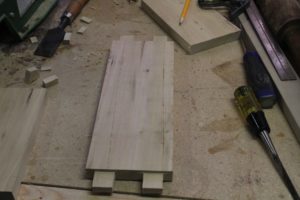
Now to cut the holes. I did this with a hollow chisel mortiser and then cleaned it up with a ¼-inch chisel. You can also use just the ¼-inch chisel for this.
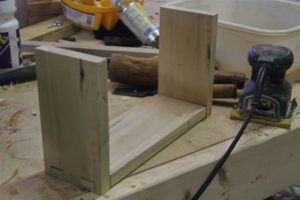
Now is the most important step. Use a 1-inch chisel and a mallet to cut down the tenons to fit in the hole. The thing to remember is that you can always take more off but you can’t add it back. Go slowly when shaving it down; you don’t want the tenons to fit too loosely.

The only thing left to do from here is to sand off any pencil marks and apply a finish of your choice. The nice thing about poplar is that it takes stain and finish well. I personally would recommend just a quick coat of paste wax to seal it and keep the natural color. Once you have the piece all cleaned, find a few favorite books to display on it.
This simple project requires little in terms of material but creates the perfect lowkey addition to a room. It also makes a perfect base for trying out new techniques like inlay or different finishes. Knowing how to do a mortise and tenon joint will also be useful for a wide array of other projects.